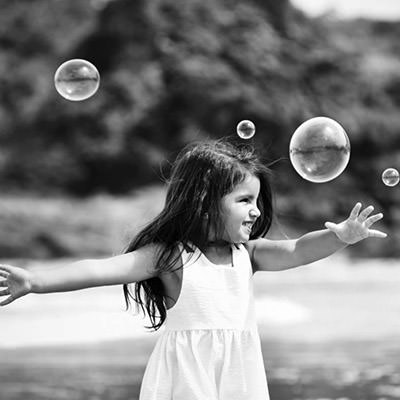
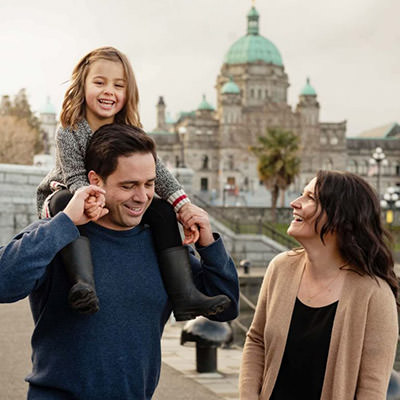
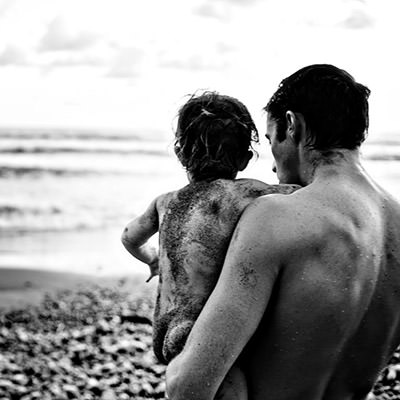
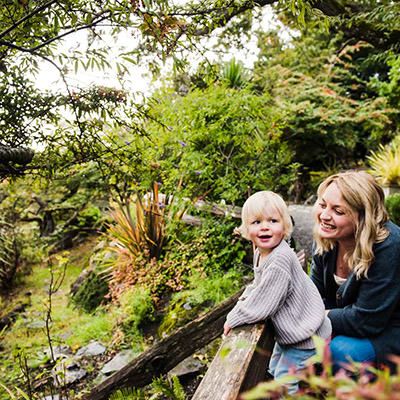
This week we are playing with bokeh – in particular bokeh in the foreground. And the best part? We’re going to invent it by using everyday objects!
HOW IT’S DONE
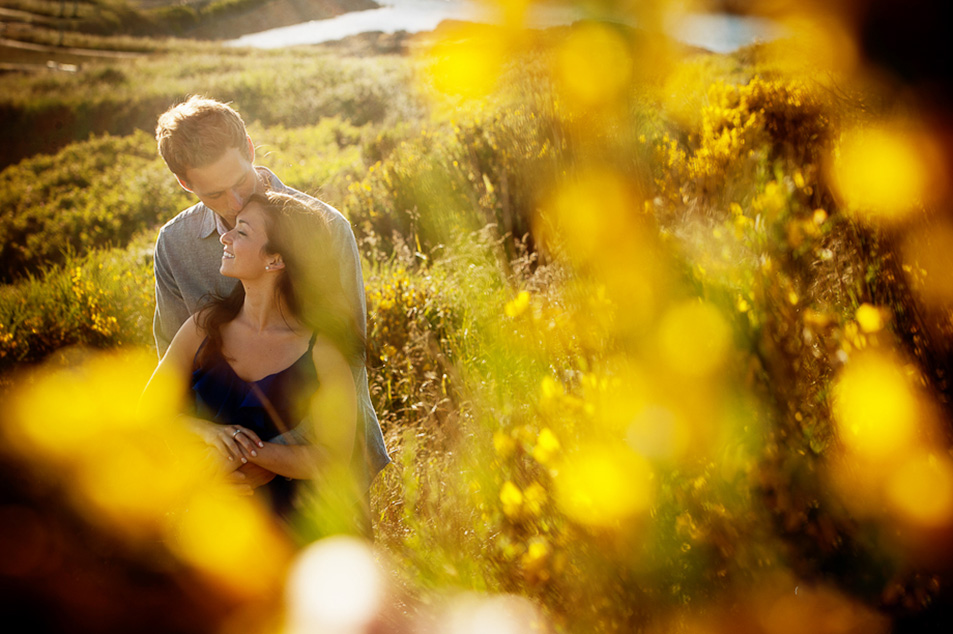
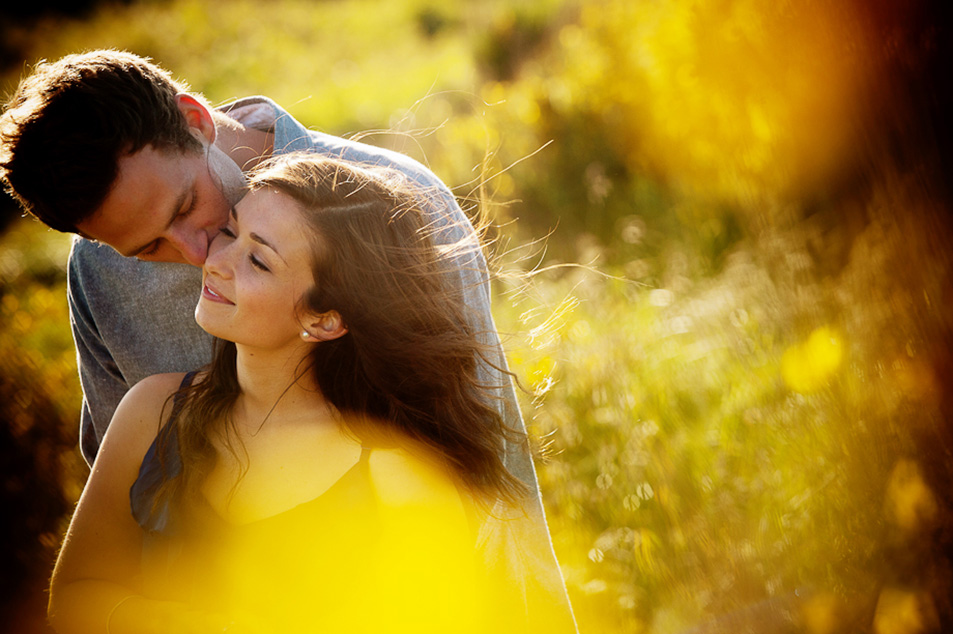
I used a shiny, dollar-store bracelet which had a bit of beveling. You need to have the light hit your shiny object, and it needs to be out of focus in the foreground a couple of inches away from the lens (or wherever it happens to look good). You’ll get better bokeh if you photograph your subject with a wide aperture (for instance f1.2, f1.8 or f2.8) and the circles will become bigger when you zoom in closer. I was using a 24-70mm 2.8 lens and I zoomed into 70mm so I could get nice big bokeh balls.
My settings for the photos seen in the video were ISO64 | f2.8 | 1/800th sec with a Nikkor 24-70mm at 70mm
USING OTHER SHINY OBJECTS TO CREATE BOKEH
There are all kinds of shiny objects you can use to create bokeh. As long as it has some sort of beveling to pick up light. I’m always checking out dollar and garden stores for shiny things. I’ve used all kinds of different everyday objects, such as dollar store beads, garden decorations, and wind chimes. One thing to note, glitter might look cool, but it will get all over everything. The last thing you want to do is get that stuff inside your camera! That’s why I choose to buy shiny objects without glitter.
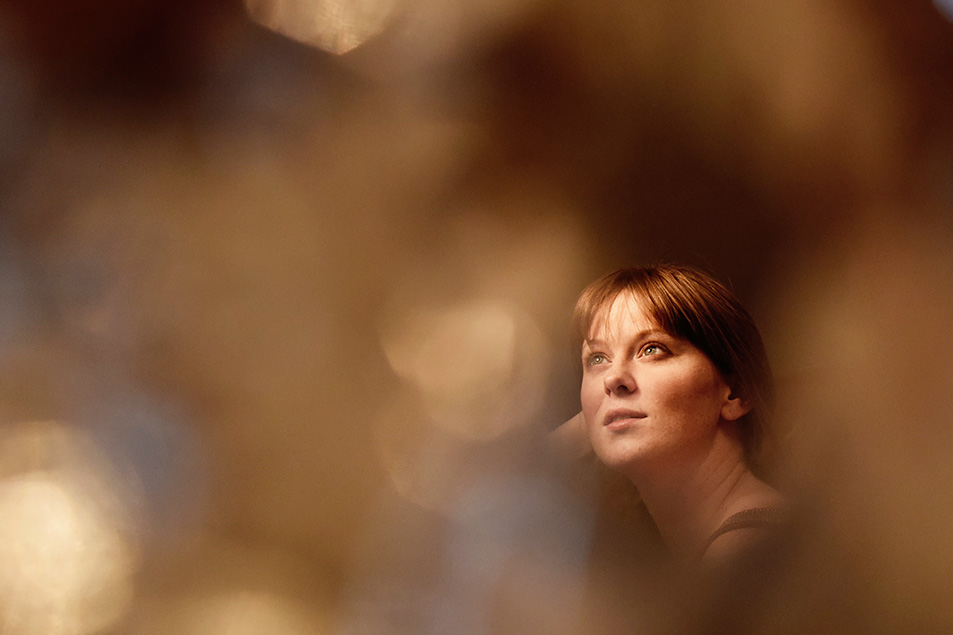
Here is a photo I took as an example for a workshop. I used one of those electric stovetop element tin-things (I looked it up and they’re called “Electric Stove Disposeable Drip Pan Liners. ” I focused through the hole in the middle. The ambient lighting was tungsten (hence the warm color cast) and I bent the tinfoil to ensure it picked up the light.
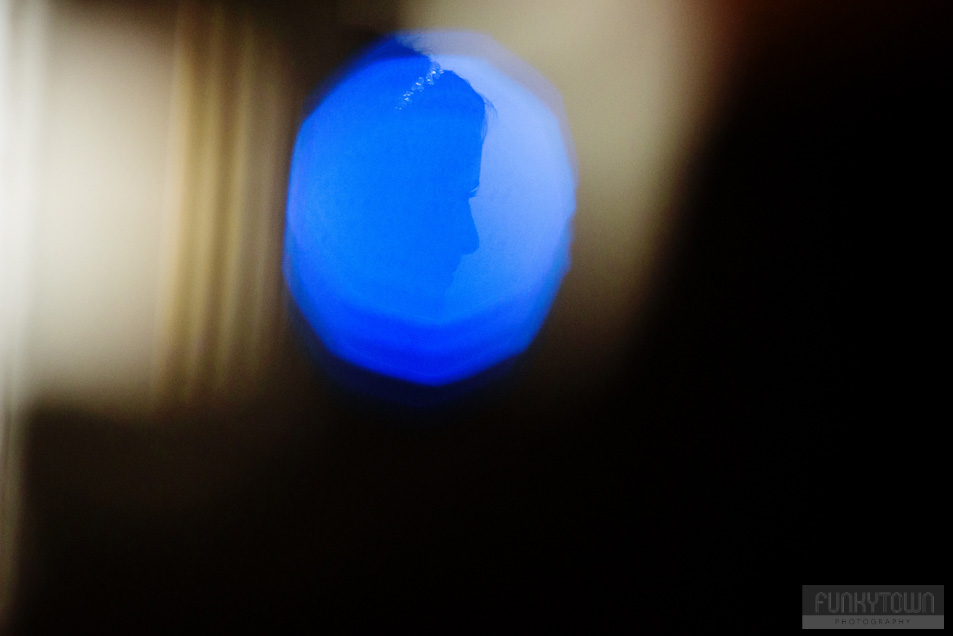
Believe it or not, this bokeh in the photo below came from focusing past the videographer’s camera. There was a blue light on the top of his camera and it made this really pretty bokeh ball. I positioned things so the bride’s face was inside the bokeh ball.
You can get away with a narrower aperture (such as 3.5, 5.6, etc.) if you have a lens with compression (and most telephoto lenses do this, including the off-brand models).
Here are some other examples from my wedding photography work, with more information about the settings and the items I used.
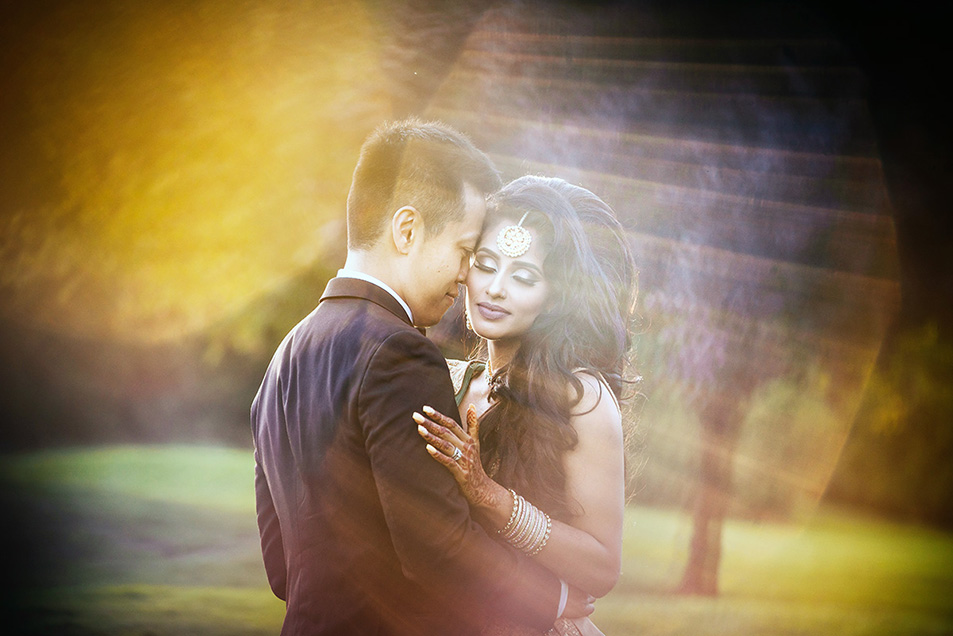
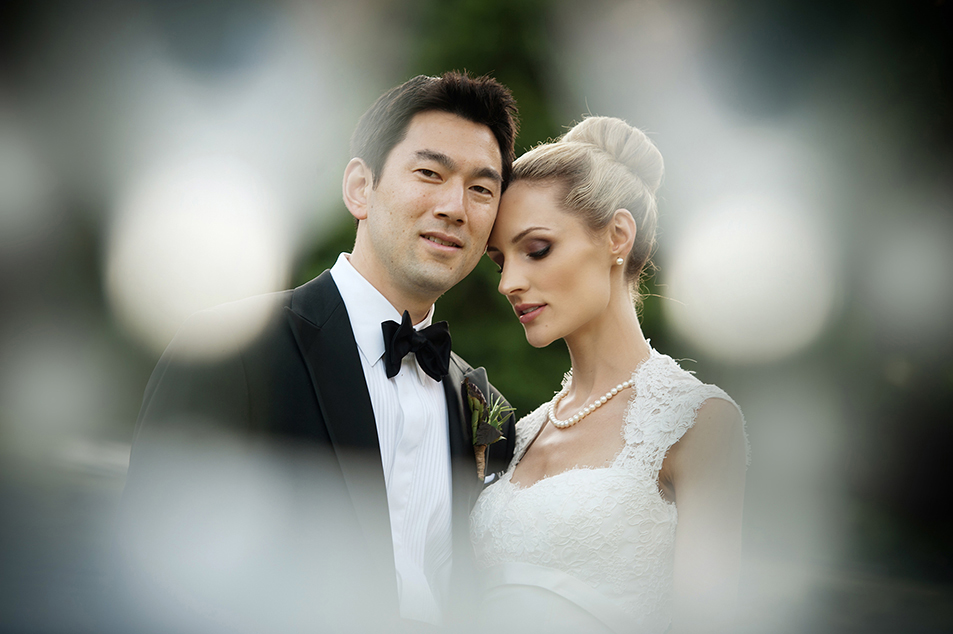
I used two wine glasses to create this bokeh effect
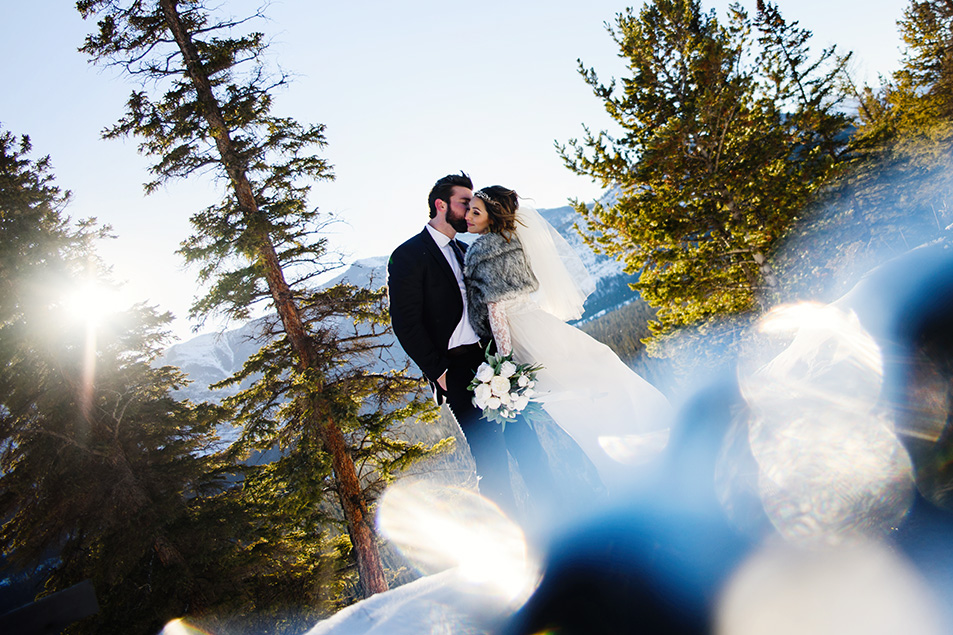
I wanted to make it look like the snow was causing the bokeh so I got lower to the ground. I used a pair of crystal earrings from the dollar store to invent this foreground bokeh.
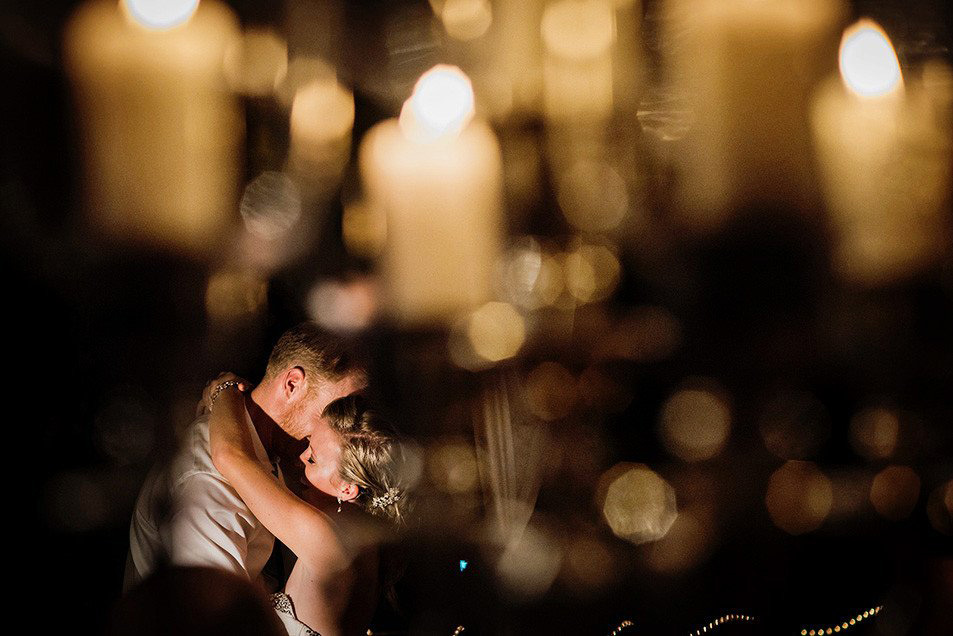
I photographed this during Heather & Nick’s first dance. The bokeh is created by the candelabras in the foreground. I peeked through an open space and photographed the couple.

